In this lesson, you’ll learn how to add custom fields to BuzzStream to personalize BuzzStream to fit your specific use cases.
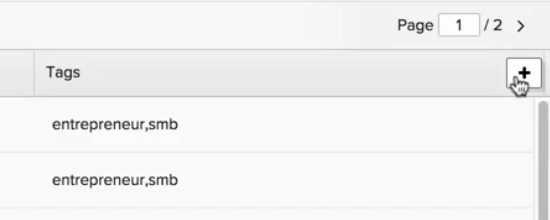
If you’d like to add a custom field on the fly, simply click on the plus sign button on the far right of your column headings, then Create New in the lower righthand corner.
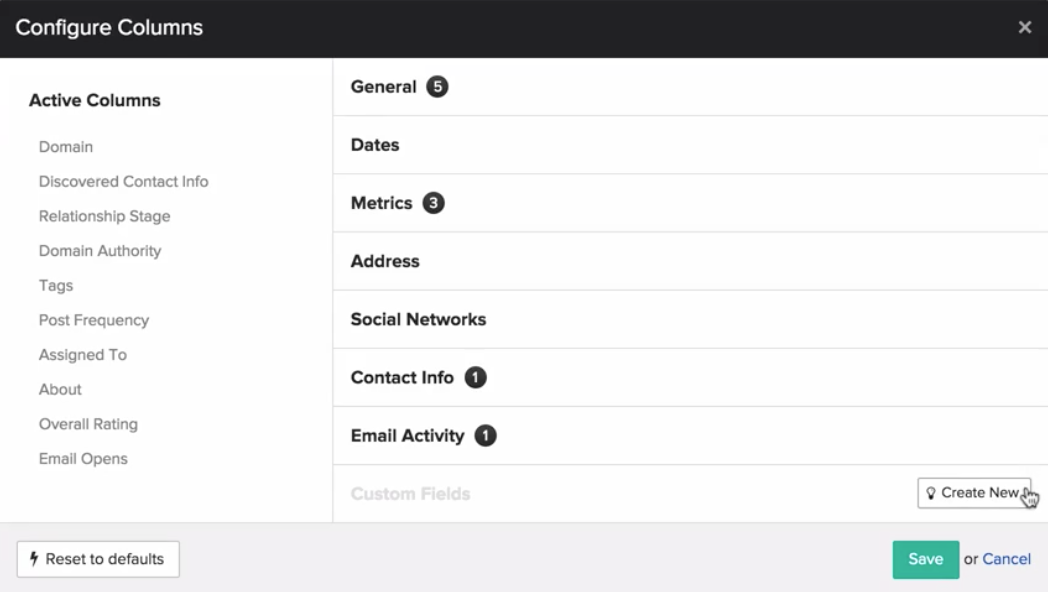
When creating your custom field, first type in the name for your field, then choose the type of Custom Field you want to create. Your fields can be text, a checkbox, a dropdown, or a number.
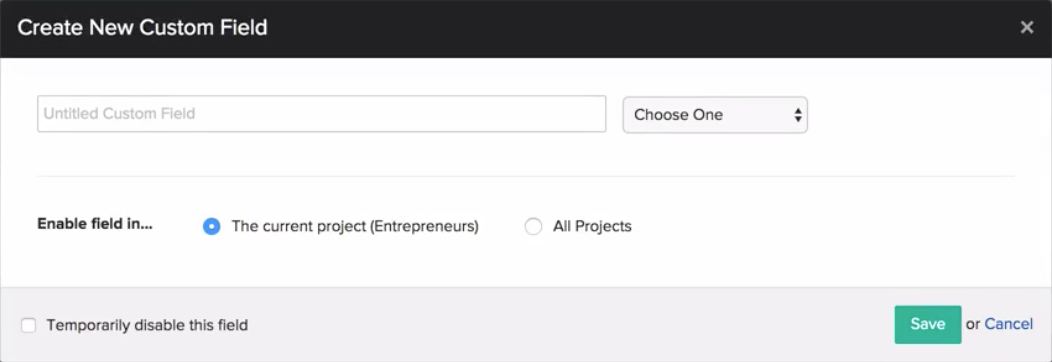 If your custom field will be either text or a number, you can move on to configuring your advanced options.
If your custom field is a Checkbox or Dropdown field, you’ll first need to fill in your options to choose from by selecting “add another option.” Once you have the values of the fields entered, you can change the order using the up and down arrows to the left of the field. To remove a value, click remove which is found on the right of the field.
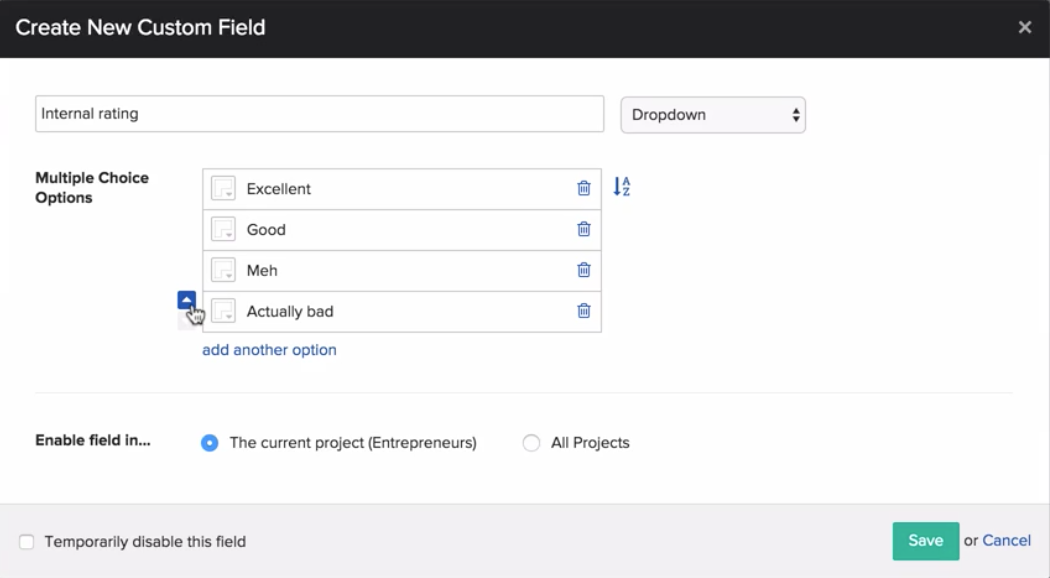
Now it’s time to configure the Advanced Options. First, configure whether you’d like to enable this custom field for all projects, or just this project. Note that this can not be changed later. Then, if you’d like a custom field to have different values based on the project, you can do that here. You can also disable custom fields without deleting them. If something should happen and you do not plan on using a specific custom field but you may want to enable it in the future you can disable it. When you are ready to add it back, you can enable it by editing the Custom Field and unchecking the checkbox.
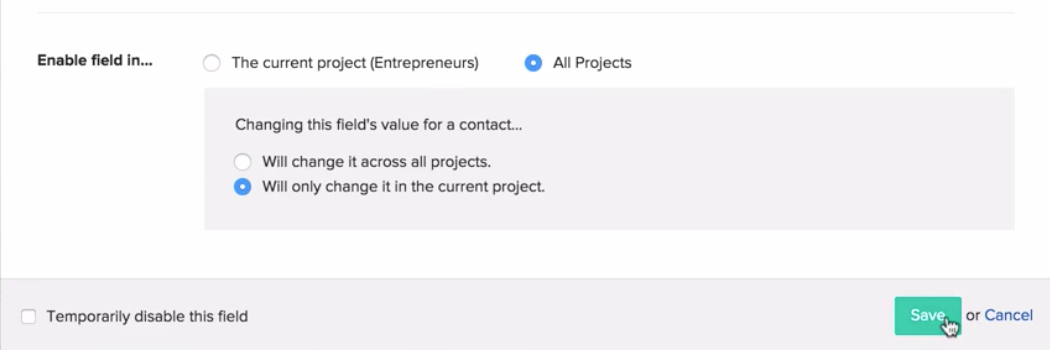
When you’re all set, click Save to finish, and your custom field has been created.
Another way to add a custom field to your account is go to settings, then navigate to the left menu and select Customize fields. From here, decide what kind of custom field you’d like to create, then click Add new custom field under the proper heading, and you’ll see the same custom field creation module as earlier.

 End-to-end outreach workflow


